# Fireproofing Your Home: Eight DIY Steps You Can Complete This Weekend
Home fires destroy thousands of properties annually. Most homeowners assume professional fireproofing requires expensive contractors and lengthy installations. That assumption costs them money and leaves their families at risk. You can tackle eight fireproofing steps yourself this weekend using basic tools and materials.
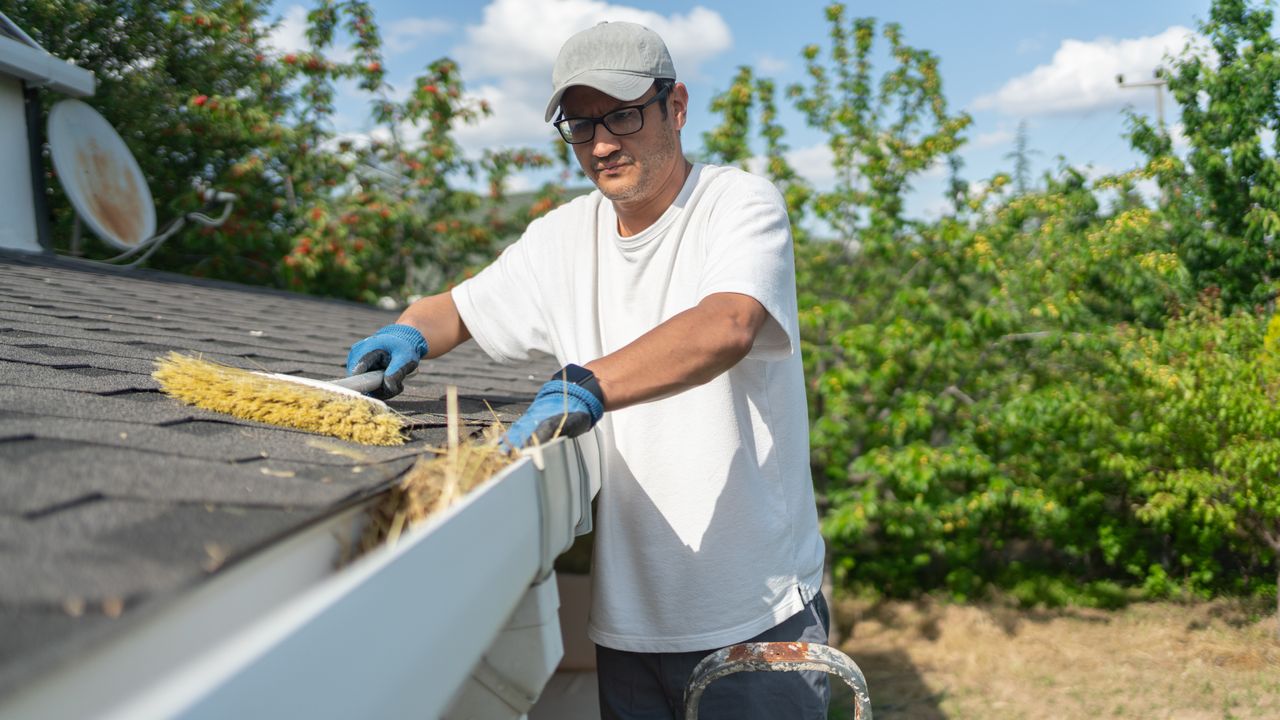
Start with your attic. Clear accumulated leaves, branches, and debris from roof valleys and gutters. Embers travel far during wildfires, and dry debris ignites easily. Install metal mesh screens over attic vents to block flying embers while maintaining airflow. This single step cuts your risk substantially.
Next, seal gaps around your foundation and exterior walls. Use fire-resistant caulk to close openings where utilities enter your home. Rodents and embers both exploit these gaps. Fire-resistant caulk costs under $10 per tube and lasts indefinitely.
Trim tree branches hanging over your roof. Cut them back at least 10 feet from your chimney and roof line. Dead branches fall during storms and create fuel for spreading fires. While you're outside, rake leaves away from your foundation and clear your yard of dead brush piles.
Replace exterior wood siding with fire-resistant materials where possible. If budget constraints prevent full replacement, focus on the areas closest to vegetation. Wood siding ignites at lower temperatures than brick, stone, or fiber cement.
Install vent covers on basement vents and crawl space openings. Wire mesh with quarter-inch openings prevents embers from entering your home's underside. These covers cost $15 to $40 each.
Check your roof. Replace missing or damaged shingles immediately. Damaged roofs leak water during fire response efforts, and gaps allow embers inside. Asphalt shingles rate as Class A fire-rated. Metal ro